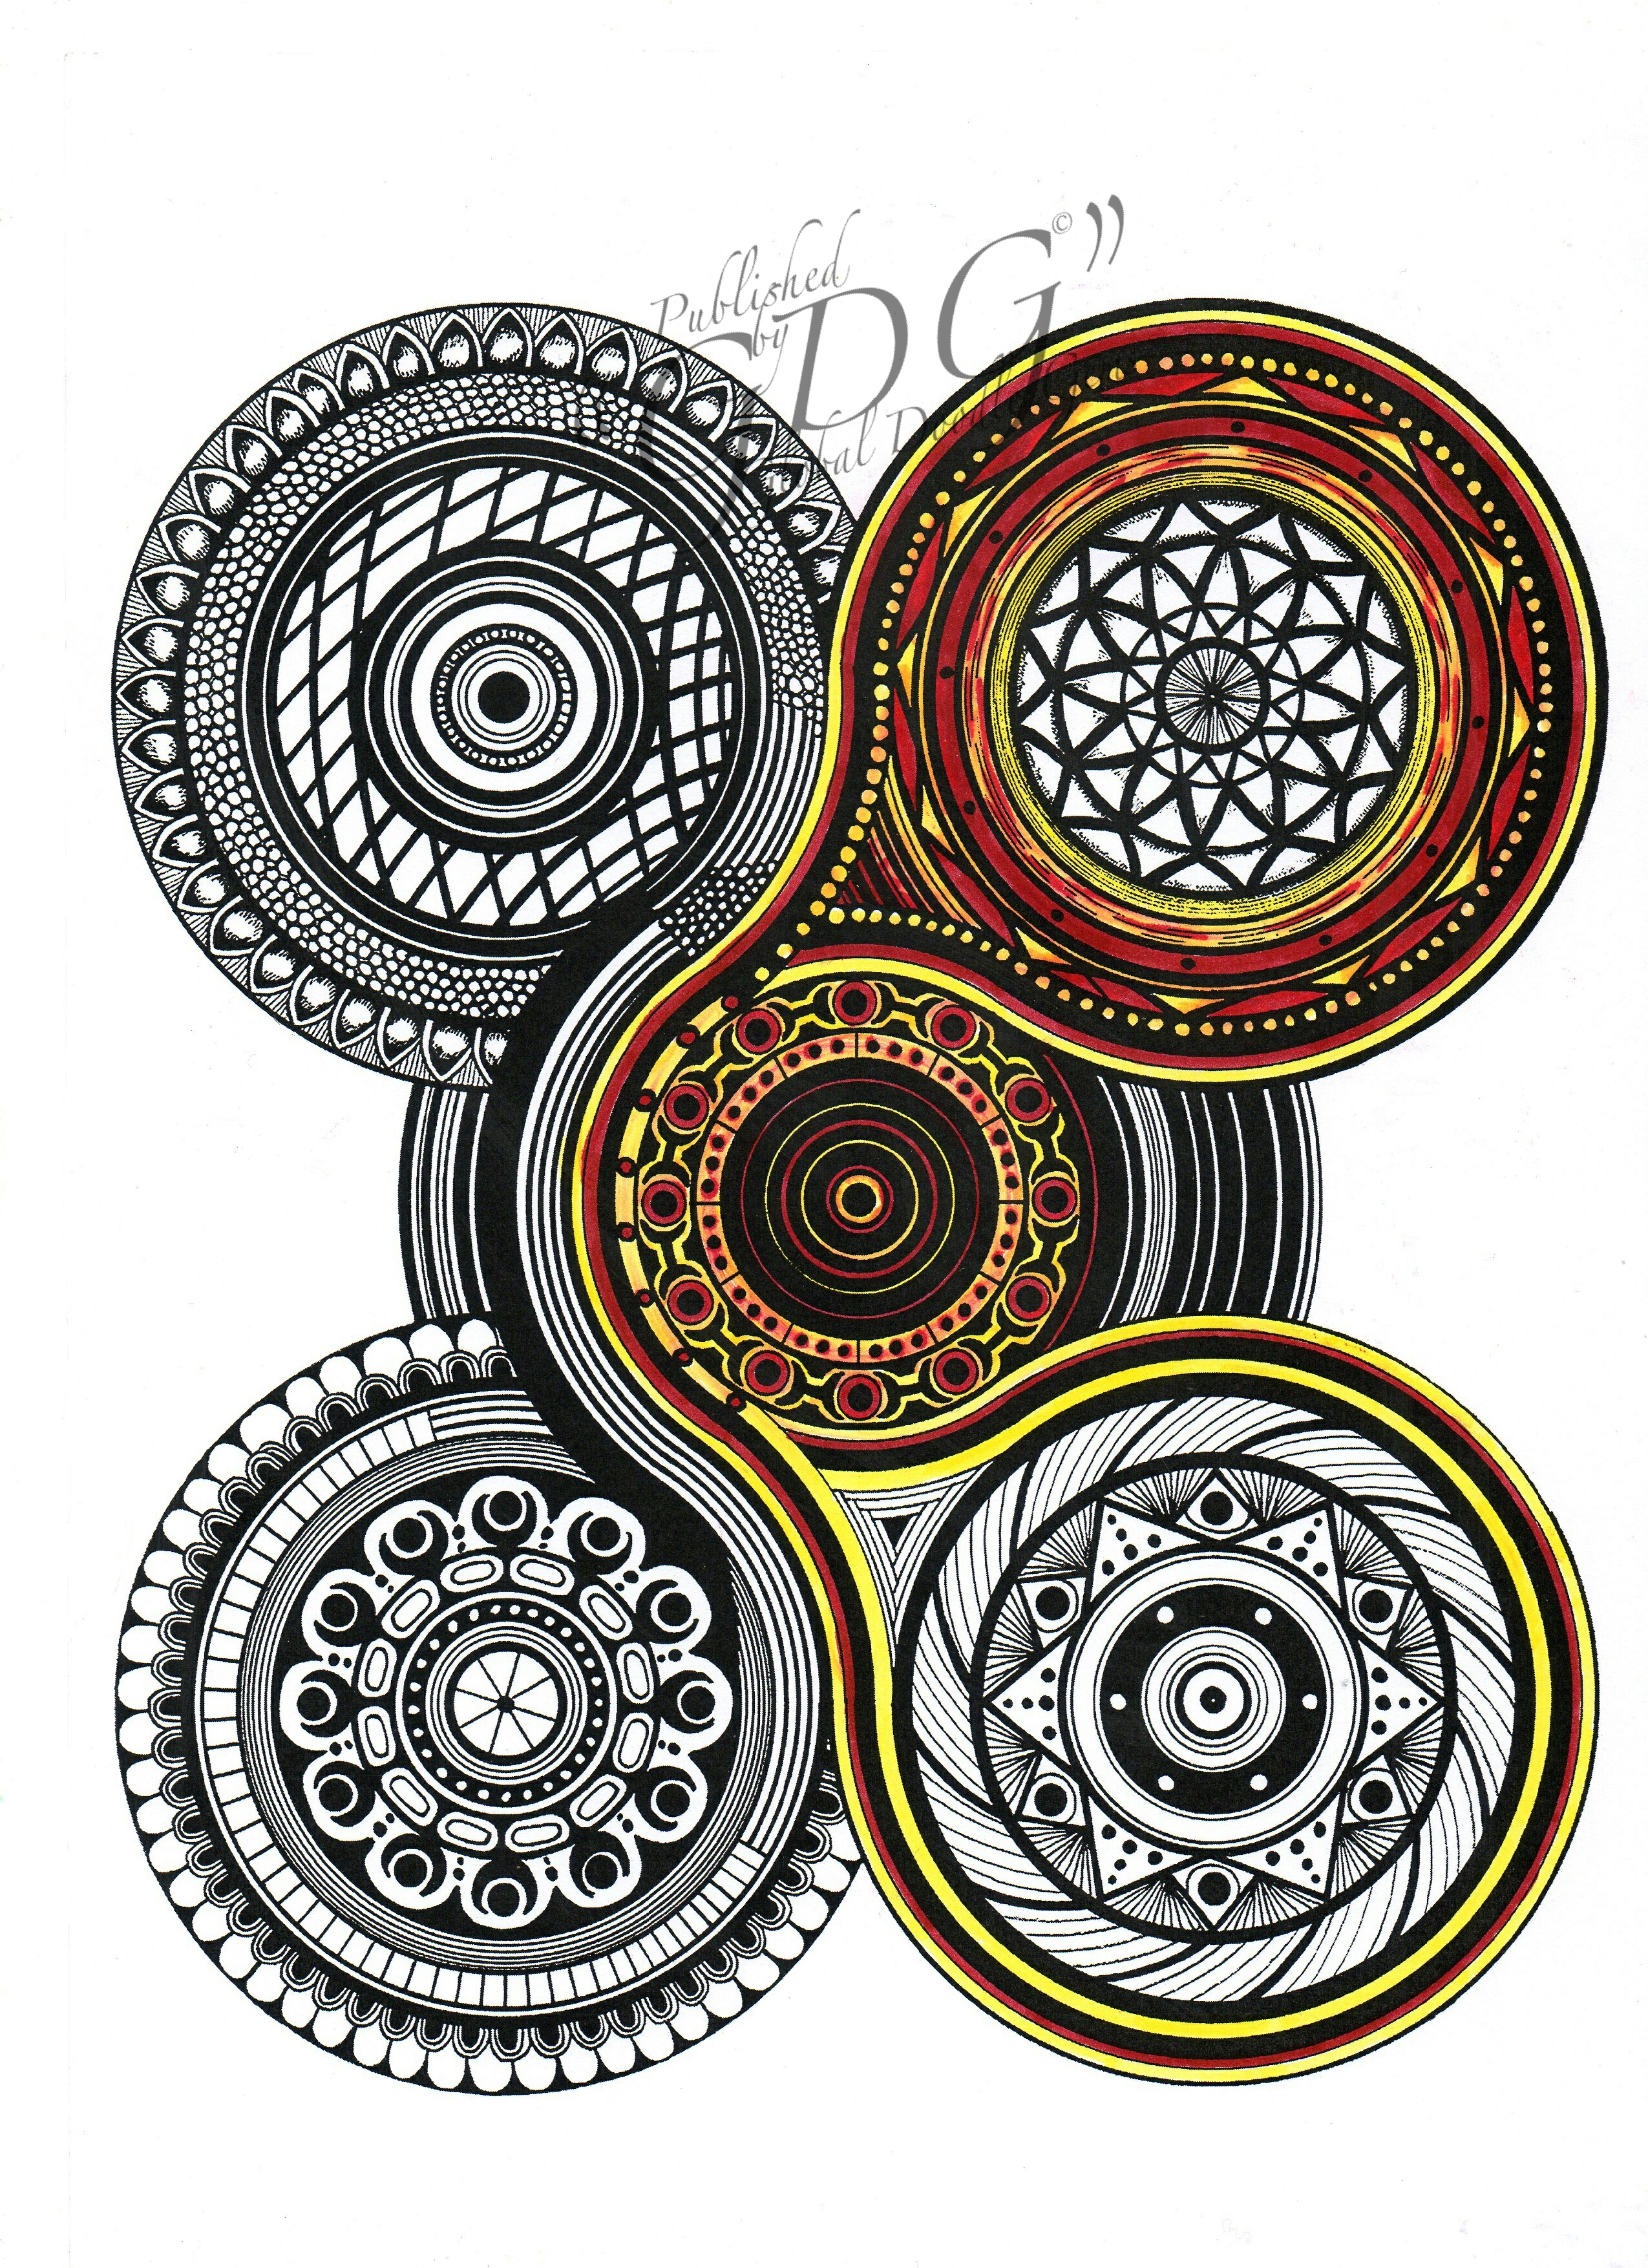
GDG Weirdiesfun Maria Wedel & Johanna Ans-Tiger Alcoholmarkertest-HalloweenFreebies
Let’s have some fun with Weirdies, that was the note from Maria to me…. She did some great drawings, to color for me in front….and oh, yeah, what a fun I had…. I got 50 beautiful funny, creapy, rare, lovely Weirdies to color…. and for me, it would become a test too…. This is “just” a project from the both of us, in between…. what it will become, we don’t know yet..
How far can I color with a brand new set of 24 Tiger Alcoholmarkers, cheap markers, with beautiful bright colors…. I was convinced that I could make 50 with one set…. and I made it! Some of my markers run out of ink at drawing 33, but than I put them away for a night, up side down, and they work again…and sometimes, I had to make color combinations, that I normally should not make…so that was a surprise for myself too! At the end, I squeezed them, used the thick point if it was possible with some colors…but I still have some ink left!
Look, what I made of it…..
You can make your own Weirdies too, Maria made also two freebies for you to color, Halloween Weirdies. I colored them too of course, and made a lot of scans, to make you those video’s to show…
Meet my MrHalloWeirdo
And there must be a HalloQueen too to be… I loved coloring her…
We are really curious what you will make of your freebie…and we like to see it on our Fangroup Global Doodle Gems too, so we can collect the colorings, and put them in a blog or video too if you like, of course we mention your name!
If you like to stay updated, what we are doing, whats new on the shelves, please take a look on our official page Global Doodle Gems
See you in the next blog….that will be about the new book from my collegue Laurie Beauchamp, Teacup Treasures, very cute little animals in teacups, so much fun to color!
Low budget coloring… minimal materials or colors can still lead to great effects by Johanna Ans
This is the step by step coloring that I will be showing you…(my way of course!) hihi
I want to show you that you can get a great end result in coloring with some simple tricks- even when you have low budget materials and minimal range of shades you can end up with a nice piece of work. Without fluids, papersticks… just coloring.
I got myself the alcoholmarkers from Tigerstore (set of 18 colors), the cheapest pastel Crayons-Van Eyck from the Action , Bruynzeel Holland pencils (set of 60 colors including 12 metallics),fineliners from Bruynzeel MXZ (set of 12) , 1 Colorgel sparkles gelpen form the budgetstore, and a little moist cloth.
Peggy loves my coloring skills, and I love her drawings, and that’s why I had to challenge myself to start coloring flowers. I was not interested in coloring flowers before, just because I thought I couldn’t… but do you know what? with coloring you can do whatever you like, fantasy or realistic, even in between… and that is just what I did. But let’s get started…
I started to color the little bubbles in the heart of the flower, with the fineliners. I only have one brown and a green, and my brown colored gel pen. I also colored under the wings of the bumble-bee…. The bumble-bee I colored all yellow with my alcohol markers, and in the “wet” ink, I put some brown to make the ‘black’. because of the wet ink, the brown will flow a little and that gives the bumble-bee his ‘fluffiness’.
The next step is with the Van Eyck soft pastel crayons. With my finger I picked up the darkest brown color and I ‘turned’ my finger over the paper. Pushing harder gives deeper color and different shades of brown. I used the red brown color with the same technique to mix the colors a little. Then I grabbed my alcohol marker, the lightest of 2 yellows that I have, and using the wide point I colored fast over the petals. Don’t be too careful, because when you go fast, you have lots of different shades of yellow! And don’t forget, go over the edges with your yellow… it highlights the black lines, that you just covered with pastel!
The next step was to introduce different shades in the yellow. In my coloring set of pastels there is a second yellow and a warm grey… a bit of encoragement needed here and there on the edges and not how I would normally do it…. but now you have colored your first sunflower!
Look, not bad at all… is it?
But now, the bumble-bee, I want to see him more ‘alive’. I grabbed my black and white pencil… accentuated the outside lines with black… a little bit furry because of his soft coat. Then with the white pencil, I colored the whole of the wings- it becomes a little blurry under it… so now you have made transparent bumble-bee wings!
When I started on the next group of sunflowers, I grabbed my darkest yellow alcohol marker, and again went quickly over the paper with the wide point. If you go as close to the edges as you dare with quick coloring, you can again see all different shades of dark yellow. Get your warm grey, and why not, the orange marker to make the accents as you did before….
So you can see that with just 4 colors of alcohol markers, you can make a difference, a nice effect. Don’t think to much, let you inner child go, and you will see that you can do it too! I chose some sunflower leaves to be green leaves, to give it a little depth in the middle. I used the dark green alcohol marker for the accent and went right over it with the light green… perfect flow of colors… and that subtle green, makes it just a bit more alive.
Next, again with the wide point of the alcohol marker, but now the lighter green to color the leaves. The dark green for the veins of the leaf. I only have 2 colors of green, so I grabbed 2 green pencils to shade a little more… this works pretty fine on markers, and it is just a simple trick when you don’t have many shades of alcohol markers. Then I got my red brown pastel crayon, to give a little bit more ‘accent’ to the hearts of the flower-just some scratches, and then I patted with my finger to smooth.
I filled in the ‘holes’ between the leaves with 2 colors of dark blue pencil, and I blended them together with the white pencil. This gives you a nice,smooth result, and you can still see that you colored it with pencil.. I see grass hills above the flowers, so it thought it would be nice to let the sun come up above those hills. I started with a red pencil, then 2 different shades of orange and on the edge a dark yellow pencil. To blend them together I used a light yellow pencil as a blender. Then I took my 2 dark blue pencils and an extra light blue… because the sun is rising, it has to become lighter! The obvious choice was to use the white pencil again, to bring the blue colors together. Lastly, I grabbed the lightest yellow again, and ‘pull’ with the pencil from the edge of the sun into the blue… only a little so you have a nice gradient.
After that I started with my grass hills. Again I used the wide point of the light green marker, fast… forget the ‘detail” between the small leaves… because we will do that with pencil, one shade darker. Also with the small point of the marker, go over the green for some accents… so what you see is just one green marker with a lot of different shades!
On the last row of sunflowers, I started with the hearts of the flowers, with 3 shades of brown-color in with the lightest brown, then from the edges to the middle the dark brown, smooth and go over it with the red brown… leave a small line of the light color open! This is the moment that I grab my moist cloth, put it on my finger and I dab softly on the pastel hearts.. Pastel will smooth the black lines, and I want to see them better… by doing this, the color will stay on your paper, but the black lines will be easier to see!
Then, the last sunflower… again I started with the wide point, the lightest yellow, grabbed the brown grey and the dark yellow marker to make some accents…. all the same colors in the first place, but all kind of different sunflowers at the end. I am very happy with my sunflower coloring, what do you think?
I hope that it helped you to be more confident, and that I was clear enough to all of you, so that you can do this too… with less or cheap materials. I know, expensive materials CAN help, but its not needed.
“It’s the hand that colors, not the material”, I have been telling people that for more than 20 years! I even made a drawing of it… feel free to print and color it…
And if you would like to color more flowers, please take a look in these GDG books….
Global Doodle Gems Flower Collection Volume 1: “The Ultimate Coloring Book…an Epic Collection from Artists around the World! “ Global Doodle Gems Flower Collection coloring book offers you 60 designs to color from 15 artists. We have come together to create a one of a kind coloring experience! Having a wide variety of artists will allows us to accommodate more levels of color enthusiasts! Wishing you a colortastic journey … with our very first Volume of Flower Collection from “Global Doodle Gems”! Click on pic to shop now !
Global Doodle Gems Flower Collection Volume 2: “The Ultimate Coloring Book…an Epic Collection from Artists around the World! “ Global Doodle Gems Flower Collection coloring book offers you 60 designs to color from 15 artists. We have come together to create a one of a kind coloring experience! Having a wide variety of artists will allows us to accommodate more levels of color enthusiasts! Wishing you a colortastic journey … with our second Volume of The Flower Collection from “Global Doodle Gems”! Click on pic to shop now !
GDG Volume 8 FREEBIES! Chapterpages to color for you!
Every month we have freebies on our FB Global Doodle Gems , freebies of the upcoming book. You might have missed them, so we will put them together in a blog for you. Feel free to print and color them. It should also be very nice, when you show them on our group to… so I can use it for the next inspirationblog…. from all our colorists together!
Iedere maand hebben wij 10 chapter platen van het aankomende uit te brengen boek, op onze FB Global Doodle Gems groep. Misschien heb je ze gemist, en dus zet ik ze hier voor jullie op een rijtje. Voel je vrij te printen en in te kleuren, en wat zou het leuk zijn jullie platen terug te vinden op onze groep… dan kan ik die in een volgende inspiratieblog gebruiken om weer anderen te inspireren…. van al onze kleurders bij elkaar!
For this month it will be GDG Volume 8 freebies, the book will be published on Februari 1th…. So let us start coloring to help us promote this gorgeous book!
Voor deze maand is dat GDG Volume 8, wat gepubliseerd word op 1 februari… dus laten we aan het kleuren gaan en mee helpen dit mooie boek te promoten!
I already did my small job, I colored the drawing from Artist Elisabeth Cassedy, “Newyork” style, to promote the GDG book Volume 8, on the backcover.
Ik heb al een stukje toegevoegd aan dit boek, ik heb namelijk de eer gehad, om de plaat van Artist: Elisabeth Cassedy in te mogen kleuren, de “Newyork” style, die te zien is op de achterkant, om Volume 9 te promoten…
Here they come….print, colortastic fun…and share it all over the world, and on FB Global Doodle Gems en Kleuren voor Volwassenen Mention name of the artist, and the name you like to be called in the next blog! So you also get your credit ofcourse!
Artist: Les galaxies des Qiw Artist: Marie Eve KLein
Artist: Mia Pelletier Artist: Nicole Whelan
“Global Doodle Gems” Volume 8: “The Ultimate Adult Coloring Book…an Epic Collection from Artists around the World! “ Global Doodle Gems adult coloring books is a collaboration of 130+ artists from around the world. We have come together to create a one of a kind coloring experience! Each volume of our coloring books features 10 artists and their amazing drawings 50 color pages in total. Having a wide variety of artists allows us to accommodate all levels of color enthusiasts ! Wishing you a colortastic journey … with our 8th Volume of “Global Doodle Gems”!
Global Doodle Gems wish you all a Merry Christmas and a Happy New Year!!
For all of you who missed the Advent Calendar, we give them to you in one blog…. to color with your family and friends, during the Holiday season…. or for the next year!
Voor iedereen die de Adventskalender heeft gemist, allemaal op een rijtje… om lekker met je familie en vrienden in te kleuren tijdens de kerstvakantie… of voor het volgende seizoen!
We wish you a Merry Christmas and a happy, creative, colorful 2016
Wij wensen jullie hele fijne feestdagen toe en een kleurrijk en creatief 2016
And do you like these kind of hearts to color…please look at our gorgeous “Innocember” coloringbook, a charity book for the Childrens Cancer research!
En hou je van het inkleuren van deze leuke harten, kijk dan eens naar ons “Innocember” kleurboek, de opbrengst van dit boek gaat voor 90% naar het onderzoek voor Kinderen met Kanker.
Innocember: Innocember Charity edition Unique Coloring Book Color our 112 hearts from 42 artists ! Innocember is derived from the words innocent and December ! This is a Charity edition from us where 90% of the proceeds will go to Childrens Cancer research. Our hope is that Innocember can spread, and others too will carry out intiative into charities and support both to research and to the children and families struck by this tragic disease ! Love GDG Click on pic to shop now !
Stabilo 68 en “De doe-mar-wa-en-ut-word-wa” techniek workshop van Johanna Ans
Er is mij gevraagd of ik jullie met beelden en tekst kan uitleggen hoe ik bepaalde kleuren van Stabilo 68 zo lekker in elkaar kan laten vloeien. Hmm, uitleggen, dat is anders dan mijn gebruikelijke : “Ik doe mar wa en ik zie wel wat het word” antwoord. Want dat is eigenlijk precies wat ik doe, uitproberen…en bij de ene stift werkt het wel, en bij de andere niet dus.
I had a question if I could tell you guys with pictures and text how I mix some of the Stabilo 68 pens. Hmmm, explain how, thats something different than just do. because thats my theorie, “I do something and I will see if it becomes something!”But that’s exactly just what I do…try out… and it will work sometimes, and sometimes it will not.
Laten we eerst het filmpje maar eens bekijken, deze plaat ga ik jullie stap voor stap laten zien, en uitleggen wat ik heb gedaan… ik ga mijn best voor jullie doen.
Let’s start with a video, this is the drawing / coloring I will show you step by step… I will do my best for you to explain right
Zoals jullie zien, zijn het 2 verschillende platen. Het boek gaat binnenkort uitkomen via Global Doodle Gems, “Art Coloring Book” van Takumi Nariyoshi. Met zijn toestemming mag ik dan ook zijn platen hiervoor gebruiken! Ik kleur ook voor hem, voor zijn promotie materiaal…dus eigenlijk 2 vliegen in 1 klap.
As you can see, these are 2 different pieces, dark & light. The book will be published soon by GDG, “Art Coloring Book”, made by Takumi Nariyoshi. I had the oppertunity to color 4 sets of 2 pieces from him. So I hit 2 flies in one slep!
We gaan beginnen bij het begin. Ik heb gekozen voor de Stabilo 68 nummers 24-51 & 58, leg ook een velletje papier naast je kleurplaat, waarop je de punt van je gele stift op kunt schoonmaken. Mijn prints zijn gemaakt op 120 grams Image Impact papier, kleurt heerlijk met potlood, maar ik kwam er dus “per ongeluk” achter wat je met de Stabilo op dit papier kunt doen. Het gaat ook op gewoon 80 grams papier, maar dat zuigt veel meer inkt, met minder mooi kleurverloop.
Let’s start. I choose Stabilo 68 numbers 24-51-58. You need a small piece of paper, to clean your yellow pen, because that will be your blenderpen. My prints are 120 gram Image Impact Paper, great paper for pencils, and now I discovered for b,ending with Stabilo too.
Je gele kleur is je blenderpen in deze tekening. Wil je dat je echt een stuk van dit geel behoud, moet je dat als eerste aanzetten, zoals ik laat zien. Zet daarna je tweede kleur op tegen de rand.
Yellow is your blenderpen in this drawing. Do you want a piece colored real yellow, do that first against the edge. After that you use your green color against the edge. Zorg ervoor dat je “snel” werkt, dus niet tussendoor even je afwas gaan doen, want dan werkt het niet meer, niet meer zo goed als je zou willen! Ik ga vrij vlot zigzaggend tussen de twee kleuren in met de gele stift waarbij ik licht de groene kleur raak. Op de terugweg “neem” je dus wat van het groene mee.
Take care that you work “quick”, don’t do the dishes in between, because than the ink will not flow the way you want. I go quiet fast from left right and back, and take a little of the green ink with me. Dan kleur ik de rondjes met magenta in, een vlak magenta in het grotere oppervlak. Voorzichtig kleur ik rondom de rondjes met geel, omdat ik die kleur zo wil houden….
I color the small circles with magenta, and some space in the bigger pattern. Carefully i colr the yellow around the magenta, because I want to keep that yellow…. Hier kun je dus goed zien in het magenta dat ik er met geel overheen ben gegaan…het geel word een zalm-oranje kleur, het magenta een oranje-roze kleur
On this picture you can see how I went over the magenta color with the yellow… the yellow will become salmon-orange, the magenta a kind of orange-pink color Bij de foto’s hierboven, wil ik van het geel en groen, de originele kleur behouden, dus die doe ik als eerste. Dit is op de “donkere” versie, dus kan gebruik maken van de lijnen.
I want this piece colored original yellow and green, so I will do that first. This example is on the “dark” version,, so I can use the lines
Bij de “lichte” versie, moet ik mijn techniek wat aanpassen. Bij de groene kleur, heb ik gebruik gemaakt van de zwarte vlakjes, daarop heb ik mijn kleur aangebracht, omdat het groene niet mag overheersen van mij.
On the “light” version, I have to change my Technic a little. With the green color, I did the ink also on the black spots, so i can grab it from there, because i want a lightgreen shadow Dan kun je toch optimaal je kleur “meenemen” om de mooie gemengde kleur te krijgen….
You can grab as much color from the black spots that you want… Om gedetailleerde accenten te kunnen maken, gebruik ik weer een ander trucje, ik kleur gewoon de punt in van mijn gele stift, met de kleur die ik nodig heb, magenta in deze. Zoals je op de foto ziet, kun je daar heel goed mooie schaduw mee aanbrengen.
To do details, I use another trick, I will color my yellow pen, with the color I need. As you see on the picture, its pretty fun for shading.
Tot zo ver gaan deze twee platen heel mooi met elkaar op. Ik vind het superleuk dit zo te doen, ook een eerste keer dus voor mij. heb vaker zulk soort platen gedaan hoor, maar nooit twee tegelijk met dan ook nog met maar 3 kleuren. En ik moet zeggen, dit gaan platen voor in een lijstje worden…zo leuk vind ik ze worden!
Until this far, both pieces will go similar. I love it to work like this, it’s also new for me. And I have to tell you, I think those 2 deserve a place in a frame… that’s how much I like them!
Als laatste kleur ik de randen in…een stukje groen aan de binnenring, de twee grotere ringen met geel en als laatste de ring met magenta. In de hoeken maak ik gebruik van beetje groen op de gele pen doen, en kleuren maar. Kijk maar eens hoe mooi deze twee platen naast elkaar zijn!
Last but not least… Color the big circles… a bit of green in the smallest, the two big rings yellow and the last ring with magenta. In the corners I used the Technic a little green on the yellow pen. Look how gorgeous those pieces became!
Nog even een scherpe scan, zodat je de gehele platen goed kunt zien….
A sharp scan to show you how nice they are…
Ik weet niet of dit met alle Stabilo 68 kleuren kan, voor mij dus ook nog experimentele fase. Ik weet wel dat de nummer 24 (felgeel) in combinatie met de nummer 19 (donkerrood) perfect zijn hiervoor. net als de donkerdere gele…donkere blauwe met de geeltinten heb ik ook al getest. Ik wil jullie wel even de plaat laten zien met Stabilo 68/ 24-19 waarop de vraag van Beheer Kleuren voor Volwassenen is gekomen, of ik deze workshop voor jullie wil maken!
I don’t know (yet) if this is possible with all Stabilo 68 pens, for me an experiment too. I know nr 24 and nr 19 fit together perfect for this. Dark blues and yellows too. I want to show you the first I did with this technic, the colored drawing that set uo the question, can you make a workshop of it.
Ook een plaat van artist: Takumi
Hopelijk heb ik jullie hiermee iets kunnen leren, ben ik duidelijk genoeg geweest…. zo niet, vraag gerust via dit blog!
I hope that I have learned you something, was I clear enough… if it was not, please comment the blog